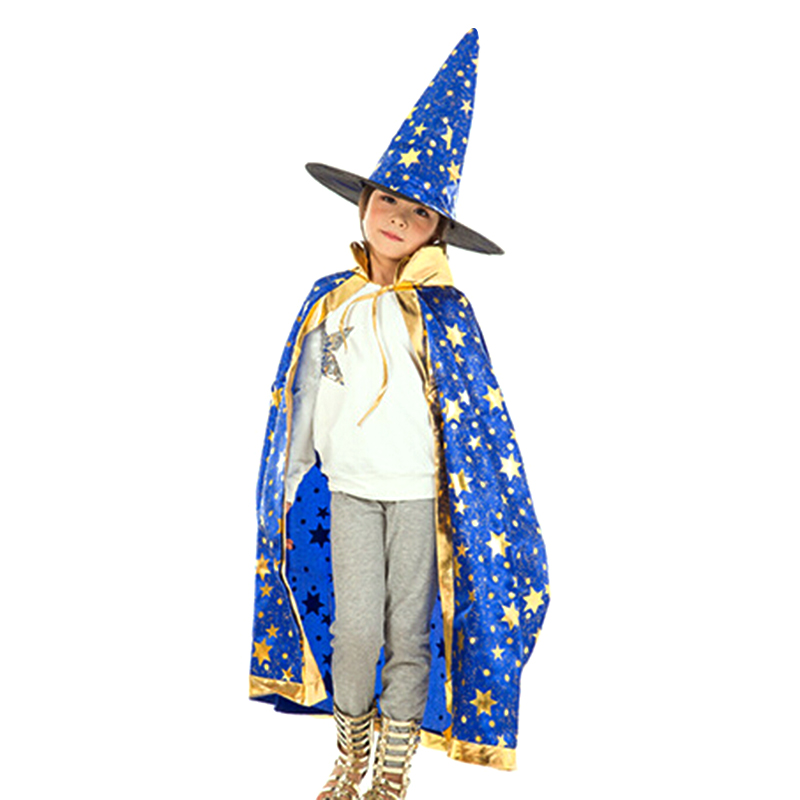
Children love using their imaginations, through dress-up play. A wizard cape is lots of fun to make and even more fun to dress-up in.
What you need:
- Fabric, choose a non-stretchy fabric like cotton
- Scissors
- Dressmaker’s chalk
- Sewing accessories
- 1 metre of ribbon (choose a wide ribbon as this will tie around the top of the cape and secure it to your little wizard)
Activity:
Measure your little wizard from the shoulder to the knees and buy a length of fabric to this measurement.
Fold the fabric in half lengthwise and lie on a flat surface. Measure the distance along the top edge from the fold to the outer edge. Then measure the same distance down the folded edge and mark this point with a piece dressmaker’s chalk or a soft lead pencil.
Carefully draw a line on the fabric from the marked folded edge of the fabric to the outer top edge – this should give you a quarter-circle-shape.
Pin the folded fabric together along the marked line and then carefully cut along the line.
Measure 10cm along the top edge and mark it. Then measure 10cm down the folded edge and mark it as well. Again, draw a quarter circle between the two marks. Pin and cut out – this will by the neck opening of the cape.
Unpin the cape and open the fabric out.
Using a hot iron, fold each edge over 2.5cm and then sew to hem the cape.
Fold the ribbon in two and pin the ribbon to the centre point of the neck opening. Working outwards, pin the ribbon along the neckline and then sew into place.
Notes:
- Try to choose a fabric that is at least as wide as the shoulder-knee measurement to avoid buying more fabric than you need.
- Before you hem the bottom of the cape, do check that you haven’t made it too long. You may need to do a little trimming to avoid your wizard tripping over his own cape!
- If you want to go really mad, you could line the cape with a satin fabric. It looks amazing and really only involves making the same cape again and then joining the two together.


Leave A Comment
You must be logged in to post a comment.